Developing a Local CocoaPod Alongside Your iOS App
Whether you’re an independent developer or a large team building apps for multiple clients, there’s no better way to improve your efficiency than by collecting your most useful code into one re-usable, unit-tested framework.
Today, I’m going to show you a great way to use CocoaPods so that you can simultaneously build your Swift apps while locating generalized solutions into their own standalone Pod.
Let’s Create Our Pod
The first thing we’ll do is create a Pod that will store all of our handiest classes, components, and extensions. We start by creating a project for a Swift framework:
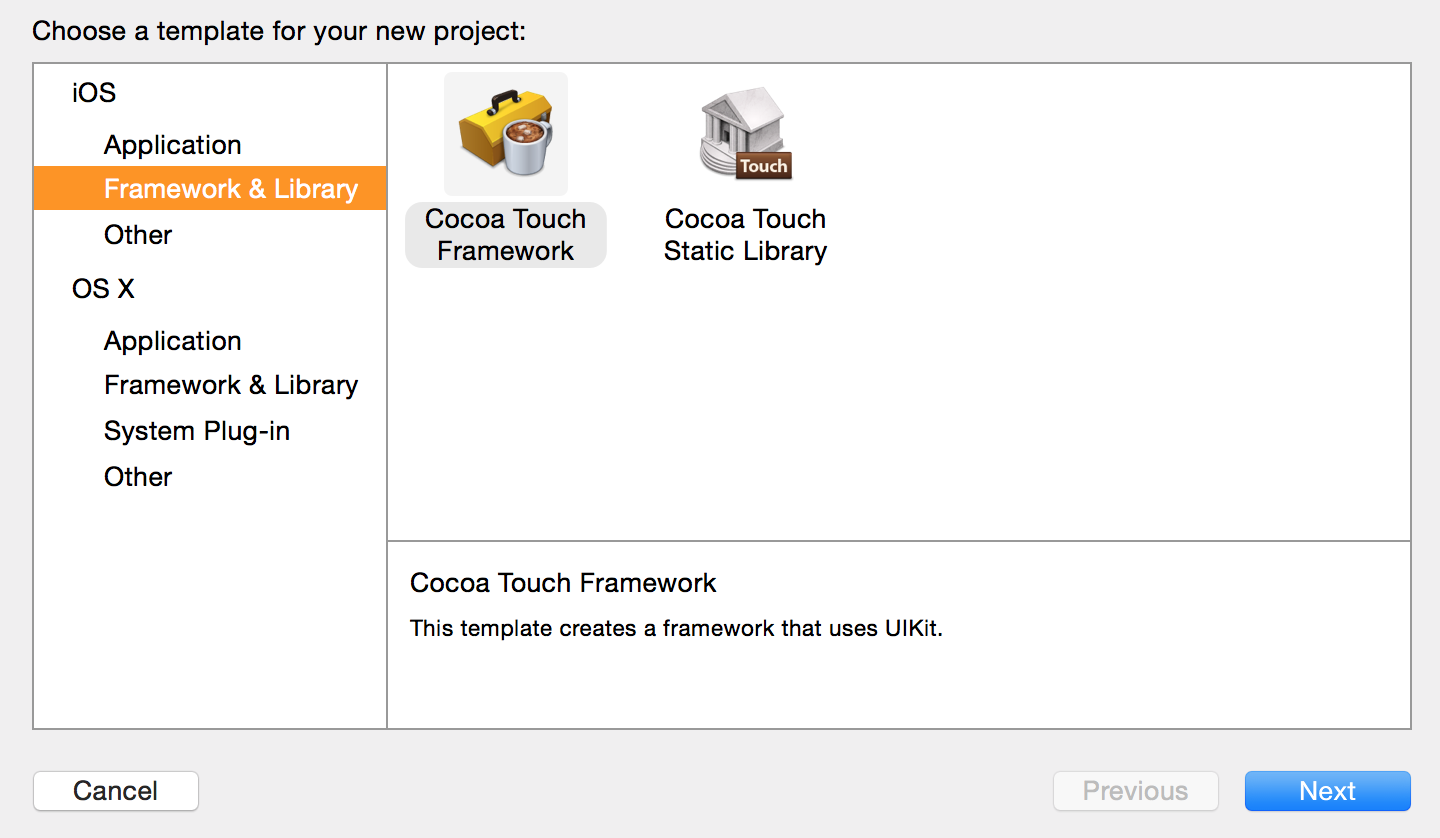
Choose “Cocoa Touch Framework”
Name it however you like and make sure it uses the Swift language. I’ll call mine Tilikum:
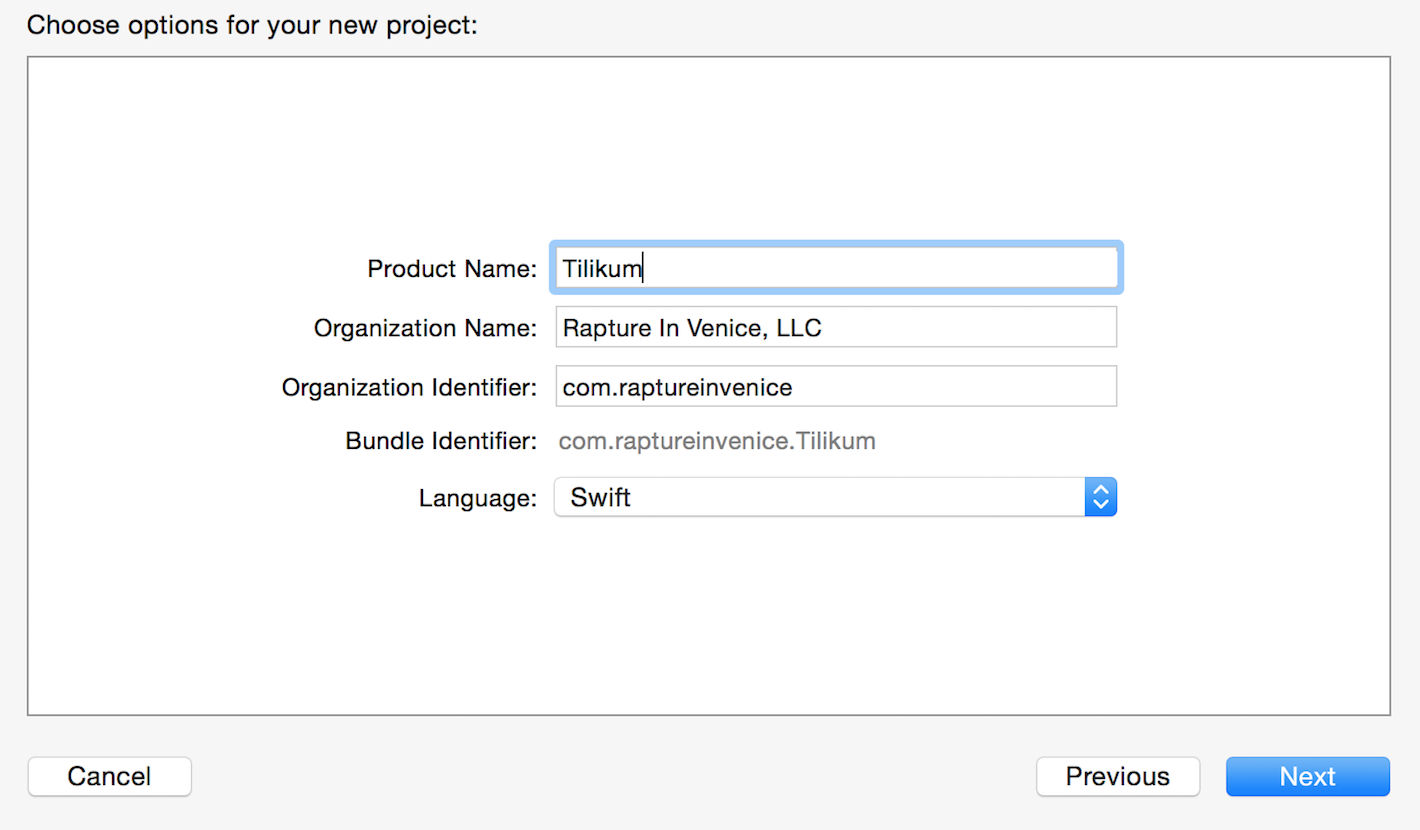
I’ll dedicate my new Pod to that poor, imprisoned Orca named Tilikum. :-(
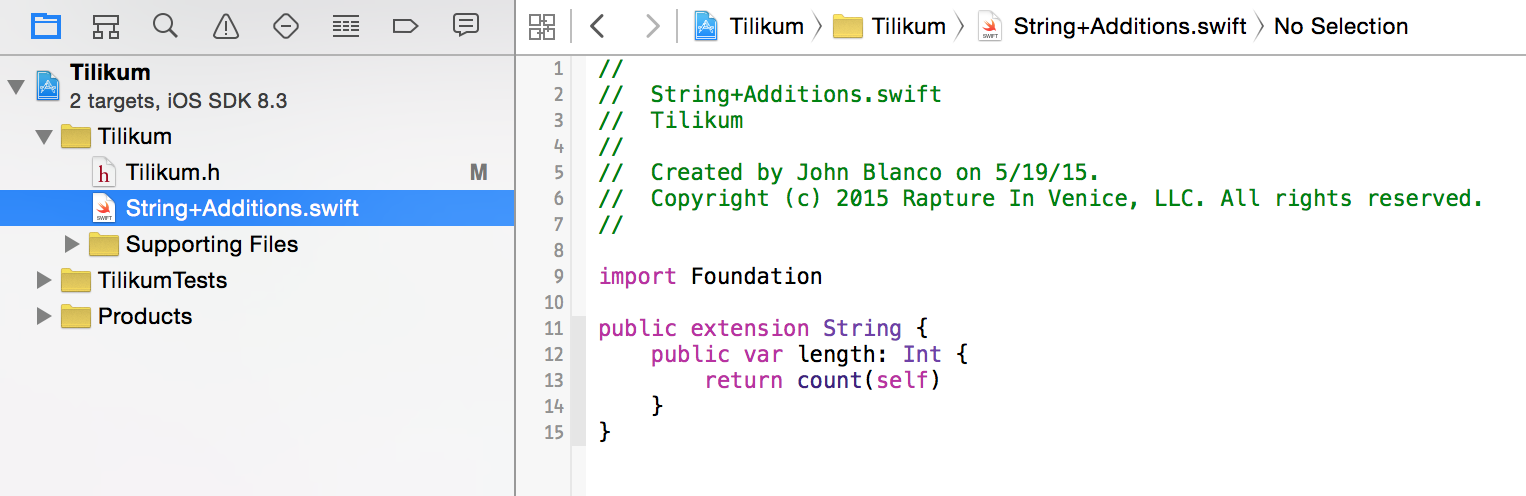
Now, let’s write ourselves a useful little extension for the String class for this example. Obviously, a lot more work will go into this later, but for the purpose of this tutorial we’ll simply get things started with something small. Here’s our code:
A little extension to get us started…
This extension adds a length property to the String class. We’ll add more down the road, but this is enough to demonstrate our Pod setup. If you’ve never written a framework before, be sure to mark the extension as public, too, or else the code can’t be accessed outside of it!
OK, the extension is done, but we’re not ready to move on to our application until we write some unit tests first! Remember, the best part about centralizing all this code is that it allows us to properly unit test in an organized manner. You’d never copy the unit tests around along with the code…go on, admit it.
Let’s add the tests:

By adding unit tests we not only keep the code in one place, we pledge to harden it with unit tests!
Alright, the code is all done, so now we need to turn this project into a bonafide Pod. Assuming you have CocoaPods installed, let’s hit the command line with this to create a default Podspec

This will create a starter Podspec for us.
Make whatever changes you like to the default file, but do make sure you change the source_files value to something like this:
s.source_files = “Classes”, “Tilikum/*.swift”
Build and voila! Congratulations, your Pod is ready to go! Next, we’ll create an app that uses it.
Let’s Create Our App
With the Pod created, we can have as many apps as we want using it…but let’s start with just one. Once again, we create a new project, this time a regular ole iOS Swift app:
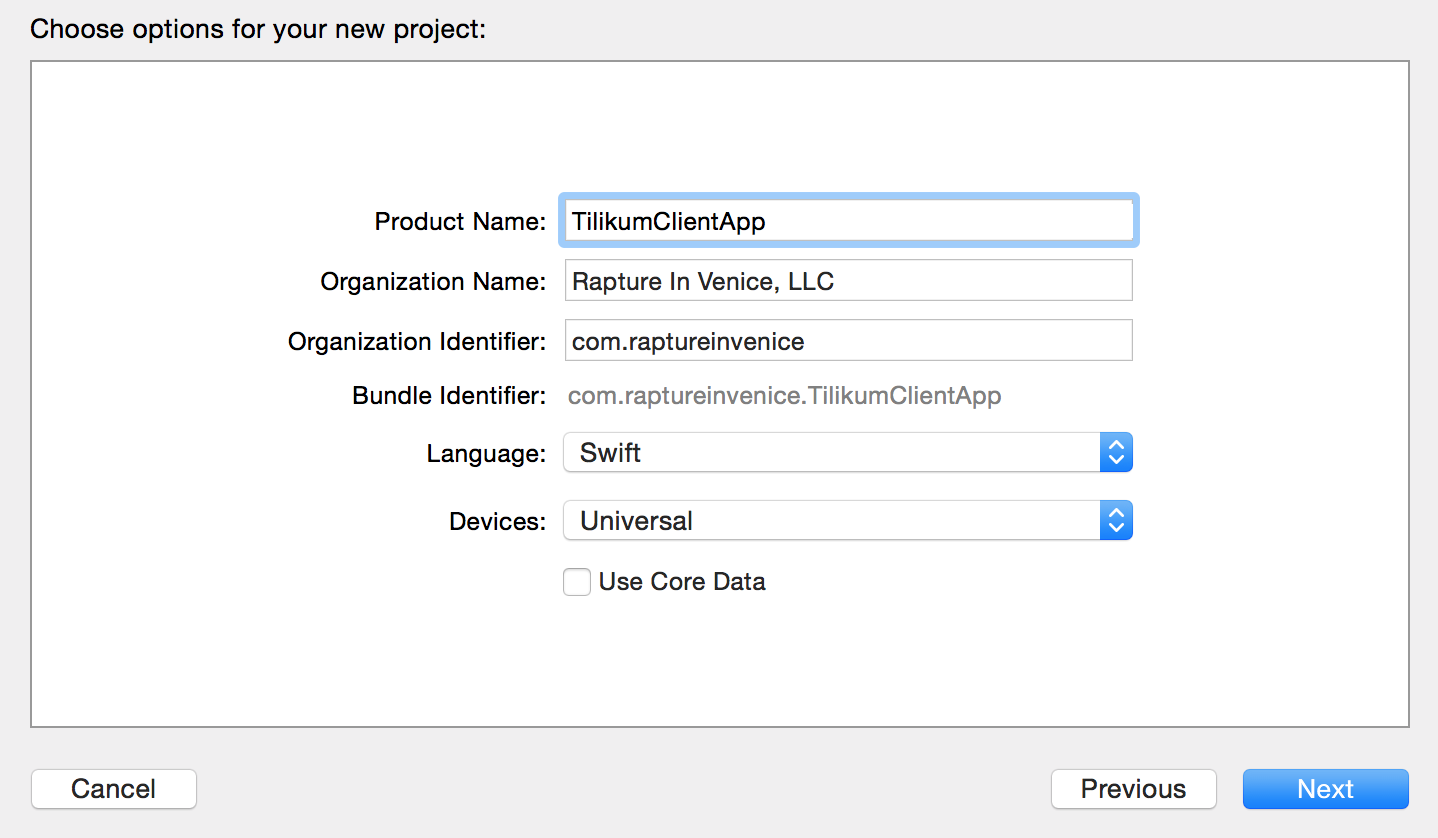
This TilikumClientApp app will use the Tilikum Pod.
Note that there’s no requirement that we share a workspace or working directory or anything with the Pod. The Pod is completely independent of our app. The only requirement, obviously, is that our app uses Cocoapods so that it can access Tilikum. Let’s configure TilikumClientApp now.
First, we integrate Cocoapods and create our Podfile:
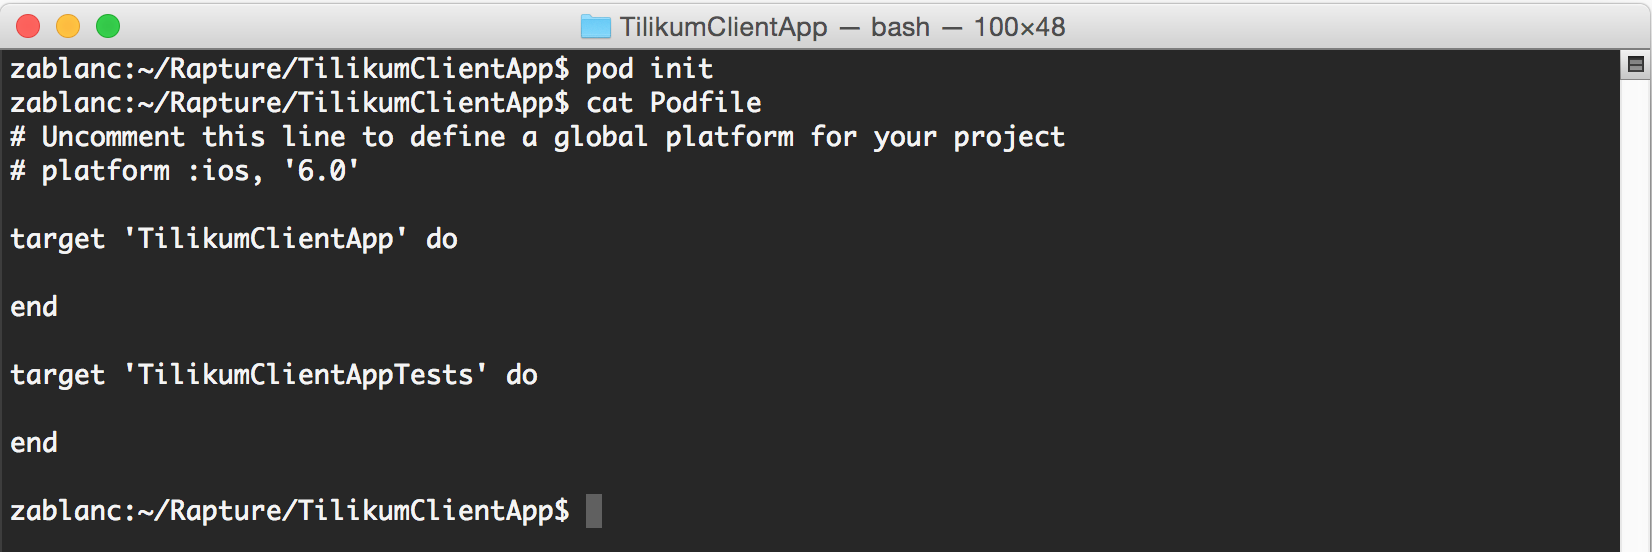
This command creates the default Podfile.
Now, the important part: we add our Tilikum Pod to the project. Usually we’d do this by adding a pod specification found in the main Cocoapods repository, but this time we’re going to point it at a local path:
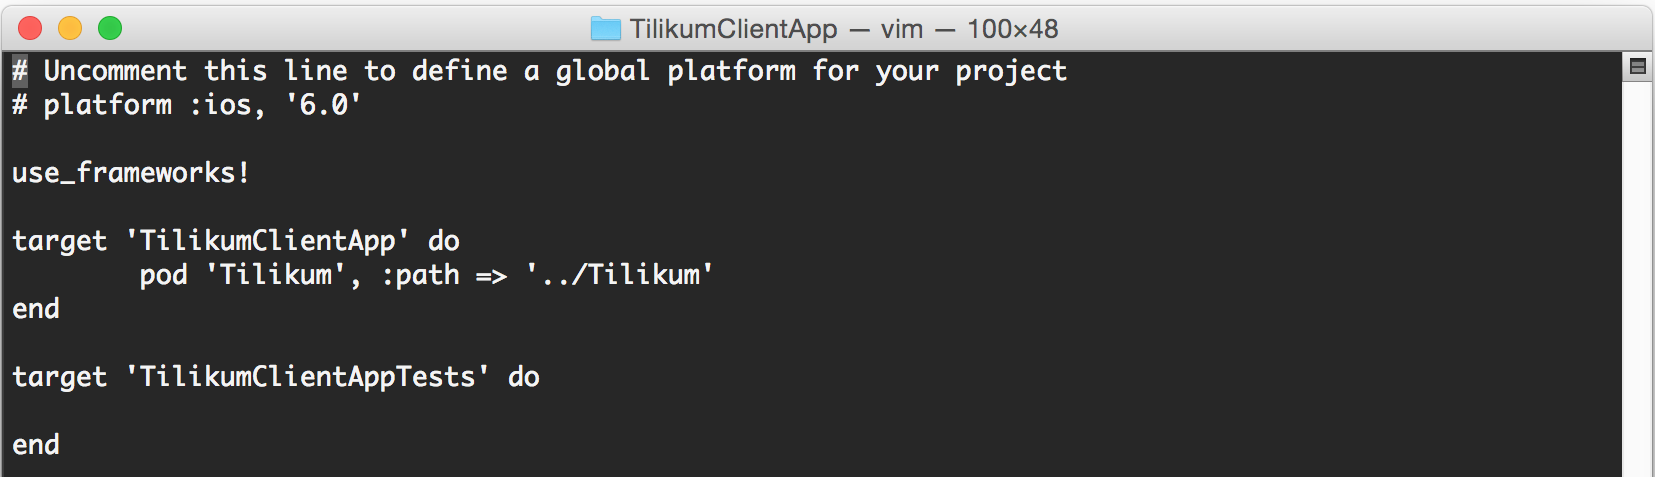
Point to your local Pod and don’t forget to add the use_frameworks! method or your Swift framework won’t be linked in properly.
This syntax points to the Tilikum Pod that’s located in the same parent directory as the app. If you want to store it elsewhere, you can, but if you’re working with multiple developers make sure you agree on a hierarchy that works for everybody.
There are many benefits to pointing at a local directory rather than an online repository:
- You can freely add new code to the Pod while you’re working on the app.
- You don’t have to commit or push any code and you certainly don’t need to cut a new version of your Pod for every single change you make.
- This encourages centralizing your generalized code in the Pod due to a quick development cycle.
Right now you might be thinking that relying on a current snapshot of the code as it stands in a developer’s local workspace isn’t a good thing, and you’re right! You’re also reading the wrong tutorial. ;-) This is about developing your Pod and app at the same time, not using versioned Pods. You’ll have to commit and version things while you code your app to do that and that’s not going to motivate you to maintain both at the same time. You’re have to rely on generalizing and exporting your code to a Pod after your development is done and…well…we all know that’s likely never going to happen. You’ll be too busy celebrating your new app’s release to think about it.
This method works really well and, obviously, is ideal in single-developer environments.
Alright, where were we? Ah yes! Now, we just need to use the Tilikum Pod in our app. The code is simple, we merely need to import the framework where we need it and then just use our new extension however we wish:
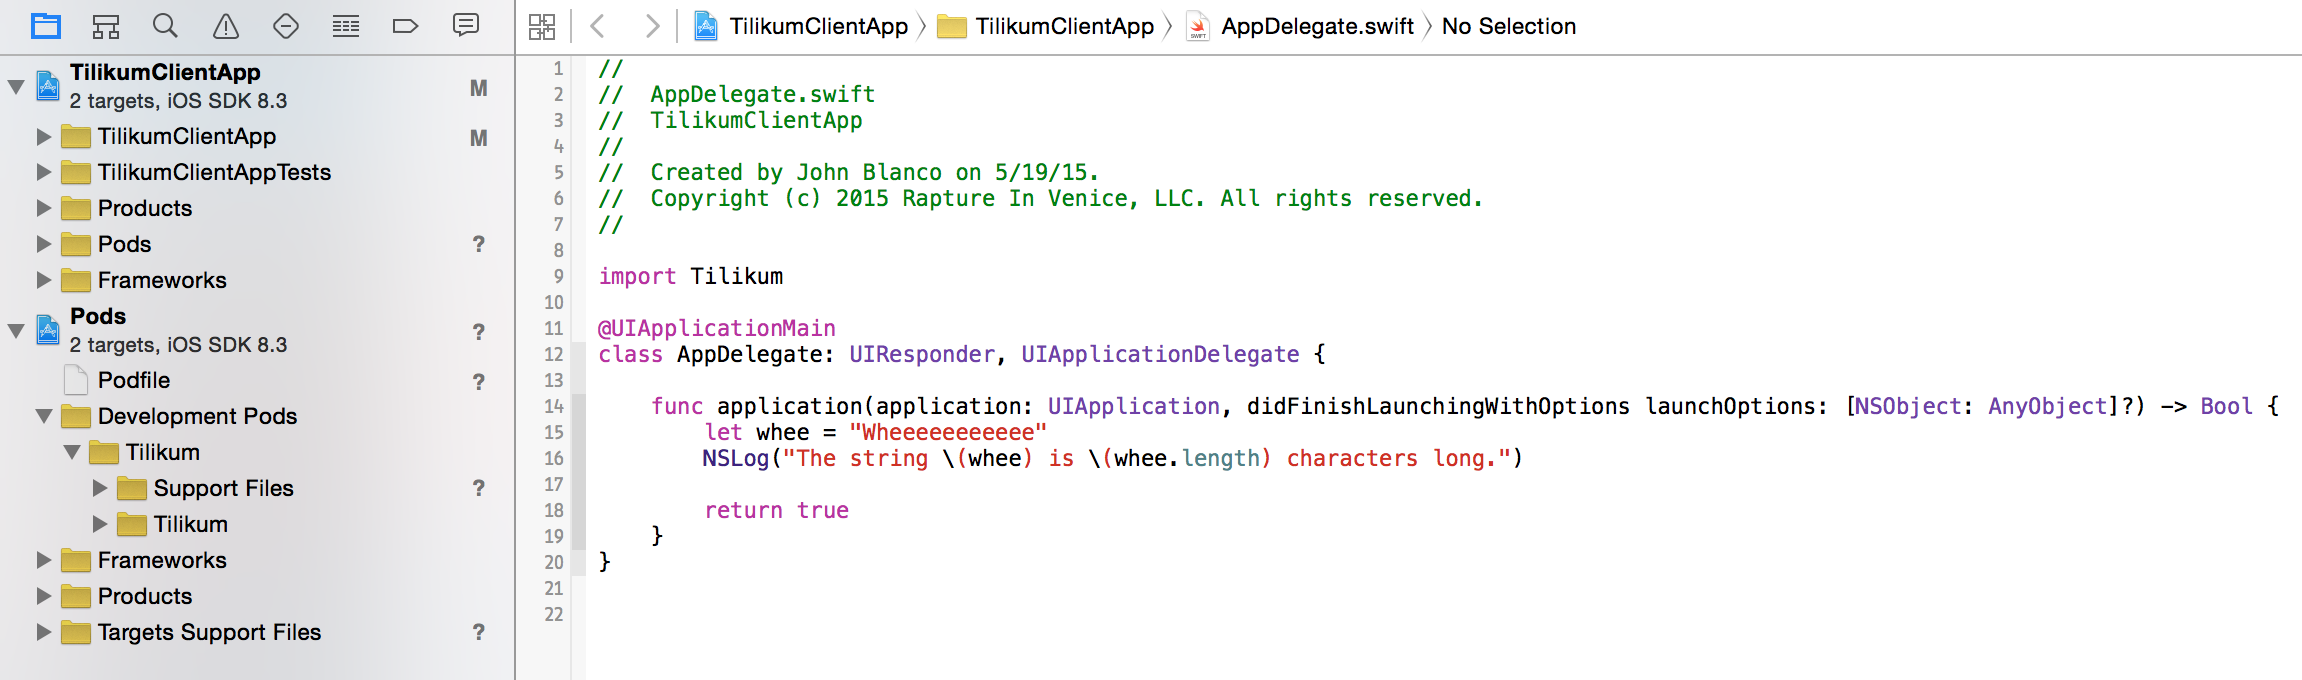
We import Tilikum above and then we have access to our new length method!
Done! Now, as we develop our app more, whenever we want to add some useful code we think our other apps will want to leverage, we add it to Tilikum rather than the app. Instant re-usability! Cool!
There’s just one little wrinkle we need to talk about (you knew there would be), and that’s what we need to do to refresh the Pod once we’ve added something to it.
Let’s Update the Pod so the App Sees New Stuff
Let’s say we add a new method to our extension, or a new extension altogether. We build Tilikum, but when we try to build TilikumClientApp we’ll find that the new code can’t be used yet.
Why?
The answer is simple: the Pod has to be updated in the app. Remember, TilikumClientApp isn’t pointing directly at Tilikum, it’s simply installed the Pod into its workspace just as if it was in the main Cocoapods repository. So, we need to re-install it.
Doing that isn’t so intuitive, however. Running pod install again won’t work because Cocoapods won’t think that Tilikum is updated even if you committed the new code. You can update the Podspec’s version number, but we don’t want to do that after every code change or we’ll quickly stop bothering with the Pod altogether. Luckily, there’s an easy command line sequence that takes care of it for us:
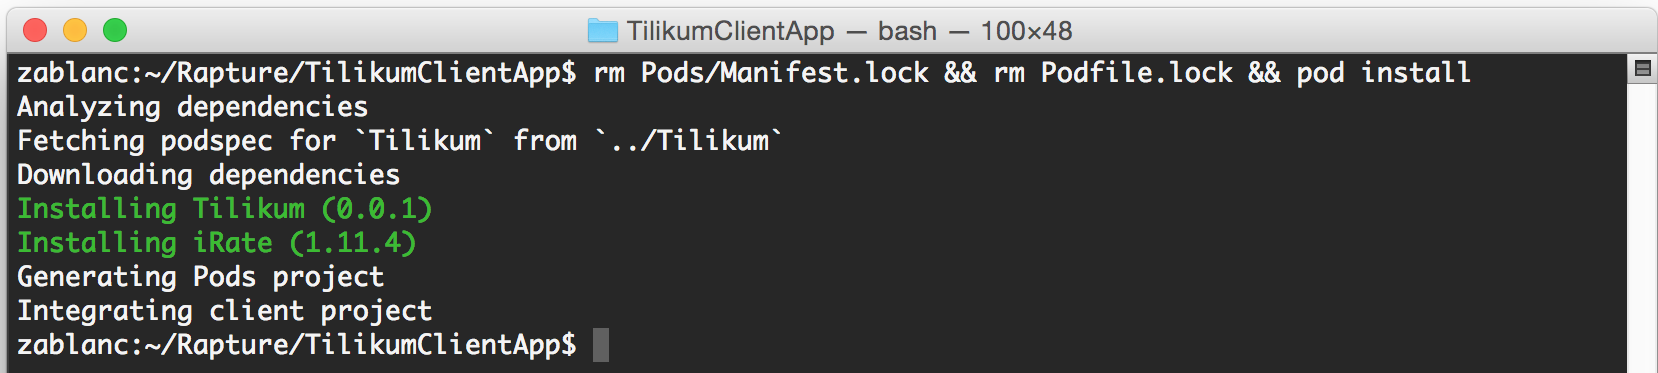
Don’t worry that the other Pod (iRate) appears to be getting re-downloaded. It’s actually cached.
Boom! Keep in mind, with the command above, that this will re-install all the Pods we have specified in our Podfile. However, the other Pods are actually cached and aren’t really being downloaded at all. (On Mac, you can find the cached Pods in ~/Library/Caches/Cocoapods/Pods.) This means we have very little overheard to this step and it’s therefore feasible to do.
Summary
Using this setup, you can easily locate your app-specific code in your app while locating your re-usable code in the Pod. You can build quick and easy and won’t have to do any refactoring later. As a bonus, keeping our most useful code in one place encourages us to build unit tests to make sure they’re correct!
Now, all our handy String extensions and enhanced UIButton classes are instantly available to our other apps without having to pull them out later. It’s all done as we go!
When you’re done building a particular version of your app, you can go ahead and check in the Pod code and cut a new version of it if you like (if you’ve made it public). Other users can then use your Pod the normal way.
Awesome? Awesome!


John Blanco
John Blanco is a freelance iOS developer living in Lakewood, Colorado. He's been developing mobile apps for over 15 years, beginning in the medieval days of Java ME and Blackberry and all the way through iPhone and Android! He's led development on dozens of apps across a wide variety of domains such as retail, vision, orthotics, games, sports, and more!
Follow Me:
Apple Watch Impressions: A Day Without My iPhone Apple Quality is Down the Shitter
John Blanco
 I've been writing mobile apps professionally for 10 years: Blackberry, Java, ME, iPhone, Android. I've gotten dozens of apps into the various App Stores for dozens of clients, big and small.
My current specialty is in iOS and Xamarin development. If you need an app written at a fixed price or just need a hourly developer to give a boost to your current team, I might be your guy.
Let's make an app!
Comments are currently closed.